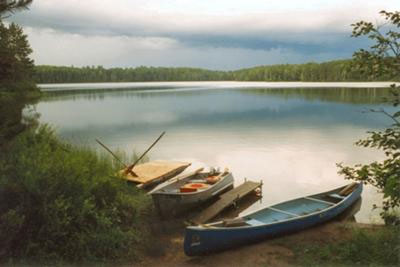

Digital Photography Tutorials - Ralph's Starrett LakeRalph submitted the photo below to the digital photography tutor page to be critiqued. Ed liked the photo, but felt it could really benefit from a touch of post processing, using software. (roll your mouse over the image to see the two photos) The changes Ed made were made in Photoshop CS, but could be done with even the most basic of image editing software. He selected Layer, and then New adjustment layer, and then selected Brightness/Contrast He clicked OK in the next box. He then went back to Layer, and then New adjustment layer and this time chose Saturation . Finally, he flattened the whole picture, and added a touch of sharpening. To do this Ed chose Filter, then Sharpening, and finally Unsharp Mask. He set the Amount slider on 100%, the radius to 0.7, and threshold to 0. And the result is above. Have a photo you'd like Ed to critique? Click here to submit your photo to the digital photography tutorials page |

